
Welcome back to the 3D printing tips blog series! This series will focus on PrusaSlicer, the software designed by Prusa Research. DKPL’s makerspace uses Prusa brand 3D printers, but PrusaSlicer can also work with non-Prusa brand printers. Additionally, the tips here apply all across the board, so if you use a different slicer or have another brand of printer, worry not—this is still the blog for you!
In Part 3, we’ll be looking at one of the two biggest factors that affect print time: infill.
Infill is confusing for a lot of people new to 3D printing. Put simply, a print’s infill is what’s inside of it. The majority of 3D prints aren’t solid all the way through. When a print is being made, there will almost always be empty space between its walls. Leaving that space completely empty would mean there’s no internal support, but making every single layer completely solid would be a waste of time and filament. The compromise is using a percentage of infill to keep the walls supported without creating waste.
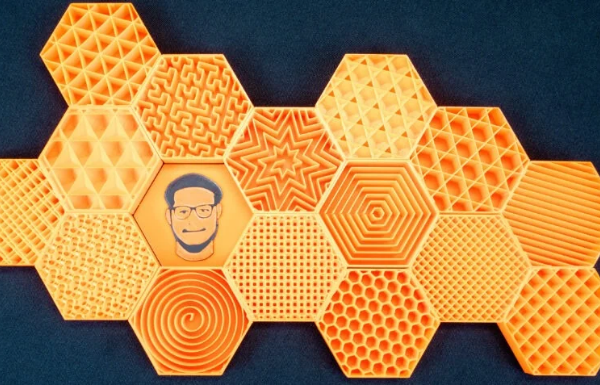
PrusaSlicer has quite a few options for infill patterns, all of which affect both time and stability in different ways. The default for PrusaSlicer (and many other slicers) is called “gyroid.” It has equal strength in all directions and prints fairly quickly.
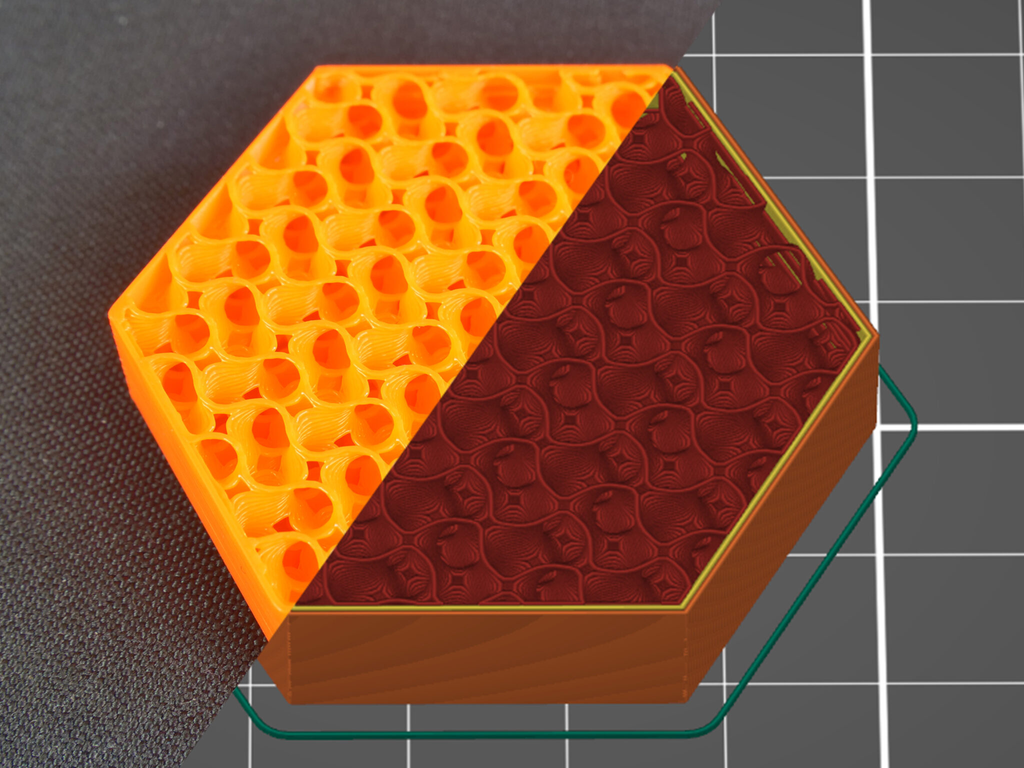
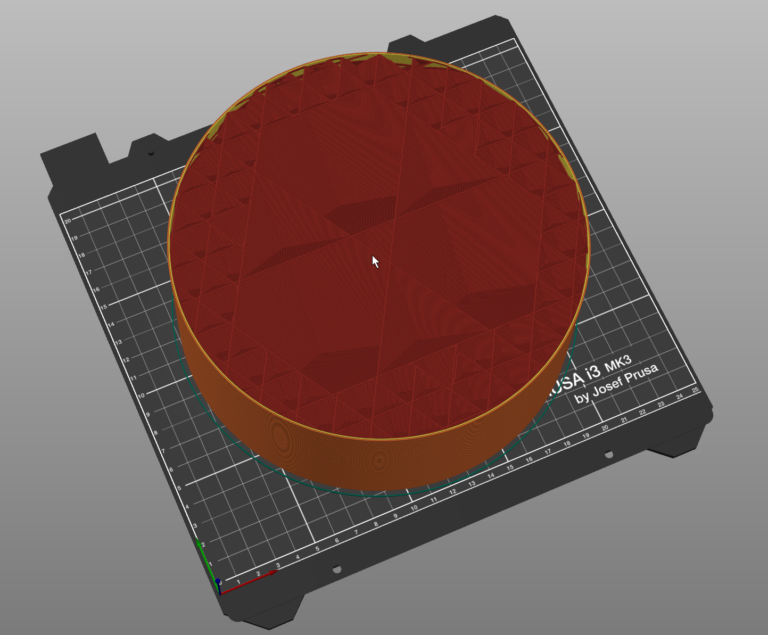
What DKPL uses during our Open Labs, with our super speedy preset, is called “adaptive cubic.” It’s a pattern that takes the distance from the center of a print to the nearest wall into account and adjusts itself accordingly. This means that in places where there would be open space that doesn’t require support, there’s wider space in the infill pattern. That might sound like a small difference, but it can have a massive impact on time and filament usage!
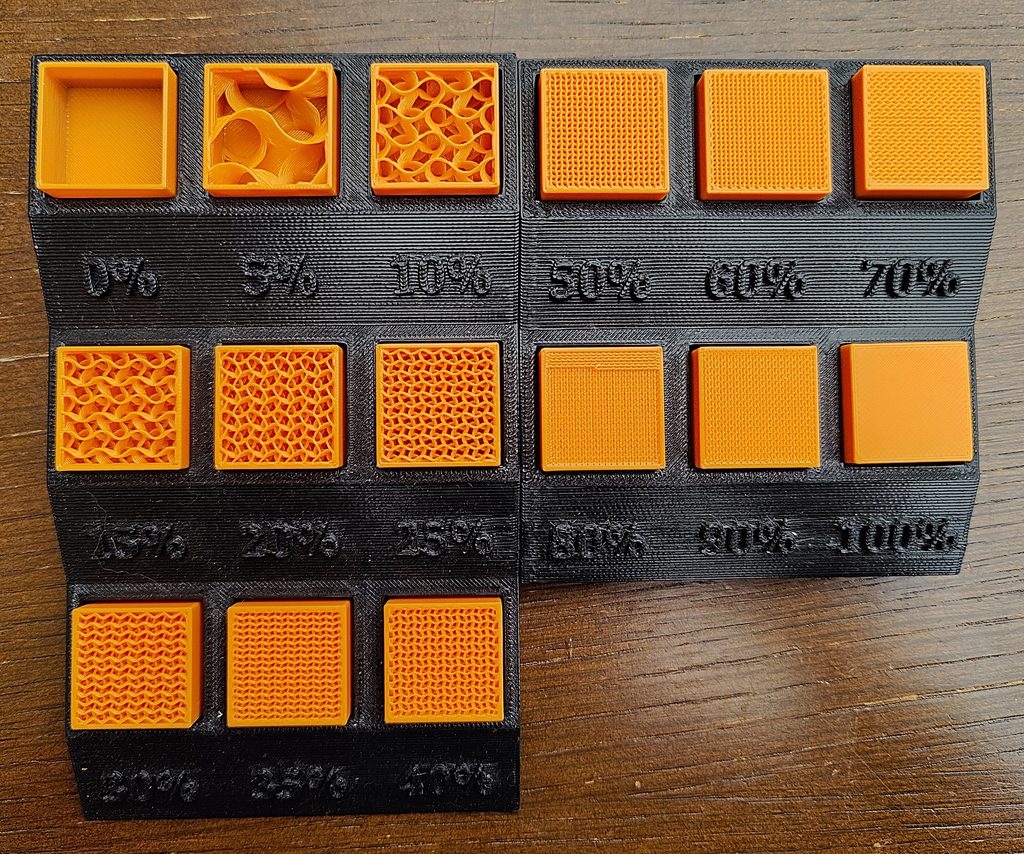
Now that we understand how different patterns can affect printing time, let’s look at the other part of infill: percentages. Don’t worry, we aren’t going to make you do any math! This is about how much infill you tell the slicer to put in a print. 100% infill would be a completely solid print. Outside of very specific circumstances (or prints so small that there’s no empty space to require infill), you probably don’t need a fully solid print. There are times where a bit of extra weight can be useful, so you might use around 50% infill, but as a rule, most prints can safely use 10-20% infill.
Options as simple as infill pattern and percentage have massive impacts on overall print time, so they’re worth paying close attention to while you’re slicing a model. Don’t get caught up in your assumptions––it’s perfectly reasonable to use a low infill percentage and it won’t make your print extra fragile. Also, feel free to experiment with patterns! Gyroid and Adaptive Cubic have relatively low time and waste consumption, but if you want a really fast print, you can always use “lightning” infill (pictured below).
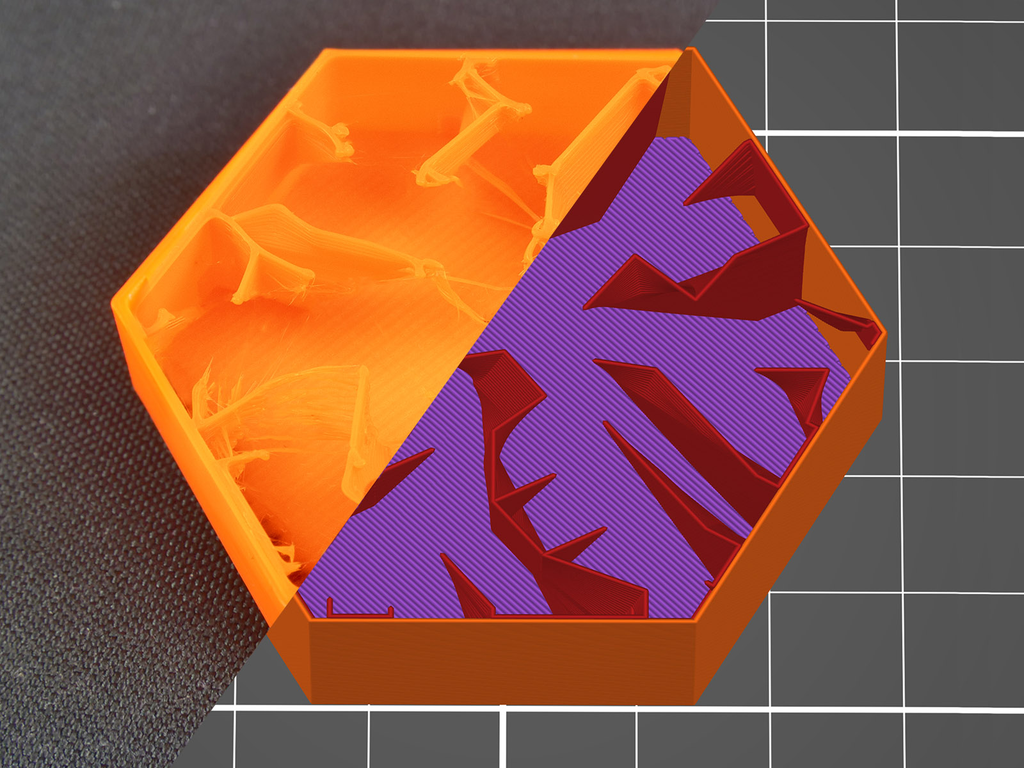
If you’re interested in checking out more infill patterns, take a look at this article from Prusa that details every pattern available in PrusaSlicer.
Questions? Comments? Want to set up a one-one-one session to get more in-depth knowledge? Contact the Tech Desk at [email protected] or (815) 756-9568 ext. 2851. Also, make sure to come to Open Lab in 309 Creative to put your new knowledge to work! Open Labs are every week on Tuesdays (5pm-8pm), Fridays (9am-12pm), and Saturdays (9am-12pm).
Look forward to the next part of this series, where we’ll be going over what layer height means and how it affects print time and quality! If you’re just getting into this blog series, you can read the previous entries here on using supports and here for learning how to ensure a solid first layer.